Blog
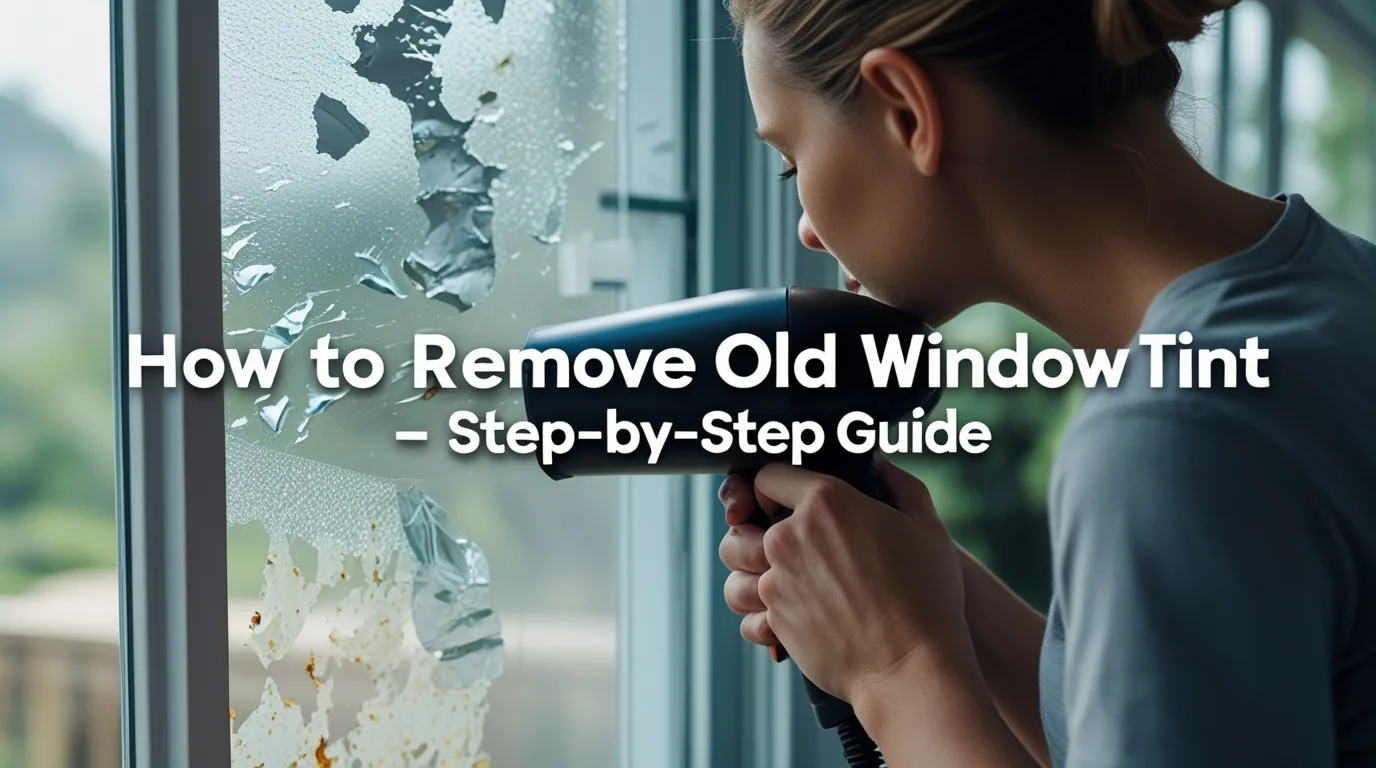
How To Remove Old Window Tint: A Simple Step-by-Step Guide
Window tint does not last forever. Over time, it can start to fade, bubble, or peel. This happens because of sunlight, heat, and moisture. These things break down the tint and its glue. If your tint looks purple or cloudy, it means it is getting old. Once the film starts to change, it will not block heat or UV rays like it should. That’s when it is time to take it off. Knowing how to remove old window tint helps keep your windows looking clean and working well.
Should You Replace or Remove Window Tint?
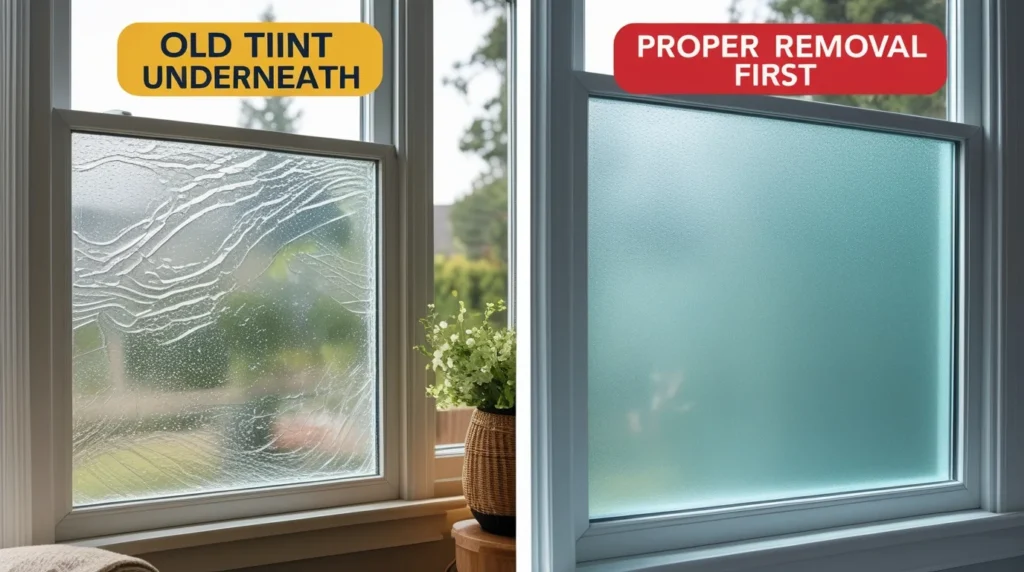
Some people think they can just put a new film over the old one. But that is not a good idea. The new tint might not stick right, and it can look wrinkled or uneven. It is best to remove the old film first. That way, you start with a smooth, clean glass. It will help the new film work better. If your tint is damaged or not doing its job anymore, the smart move is to take it off before putting on a new one.
How to Remove Old Window Tint Safely at Home
Removing window tint at home is easy if you follow the steps. First, gather your tools. You will need a hair dryer or heat gun, a scraper, soapy water, paper towels, and maybe some tint adhesive remover. Start by heating one corner of the film. When it gets warm, gently lift the edge with a scraper. Pull it slowly. Keep heating it as you go. This helps the tint come off in one big piece. After you remove the film, check the glass for leftover glue.
Common Signs That Your Window Film Needs Replacement
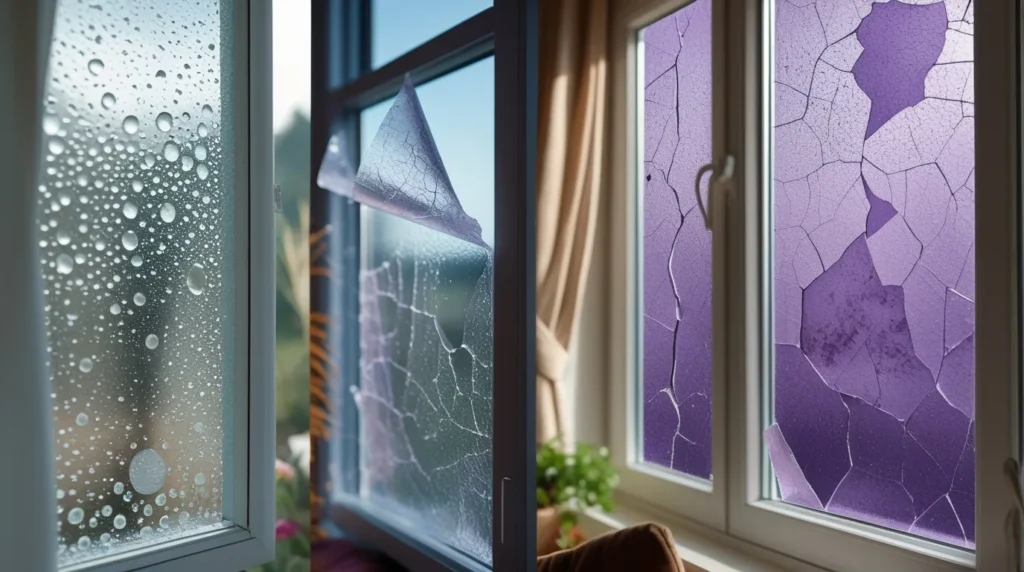
How do you know it’s time to remove your window film? Look for bubbling, peeling, or fading. If the film looks purple or cloudy, it is worn out. Sometimes the tint feels sticky or starts to crack. These are all signs that your film is not working right anymore. It may not block heat or UV rays like it used to. If you see any of these problems, it is a good time to remove them and get ready for a new film.
Best Tools for Tint Removal and Surface Prep
To remove old window tint safely and cleanly, you’ll need the following tools:
1- Painter’s Tape (optional) – Protects window trim or painted edges during removal.
2- Hair Dryer or Heat Gun – Softens the adhesive for easy peeling.
3- Plastic Scraper or Razor Blade – Gently lifts the film without scratching the glass.
4- Spray Bottle with Soapy Water – Keeps the surface wet and reduces the chance of damage.
5- Microfiber Cloth or Paper Towels – Wipes away glue and cleans the window.
6- Tint Adhesive Remover – Loosens stubborn glue residue for a clean finish.
Step-by-Step: Removing Window Tint Without Damaging Glass
Follow these simple steps to safely remove old window tint from your home windows:
Final Wipe Down
Dry the surface with a microfiber cloth to remove any remaining streaks or moisture.
Gather Your Tools
Get a hair dryer (or heat gun), plastic scraper, soapy water, cloths, and adhesive remover.
Heat One Corner
Use the hair dryer to warm a corner of the window tint for about 30–60 seconds.
Lift the Film Edge
Gently use a scraper or your fingernail to peel up the corner of the film.
Peel Slowly
Pull the film back slowly with even pressure while continuing to apply heat.
Work in Sections
If the tint rips, stop, reheat the area, and peel again. Don’t rush.
Clean the Window
After the film is off, spray the glass with soapy water and remove leftover glue with a scraper or adhesive remover.
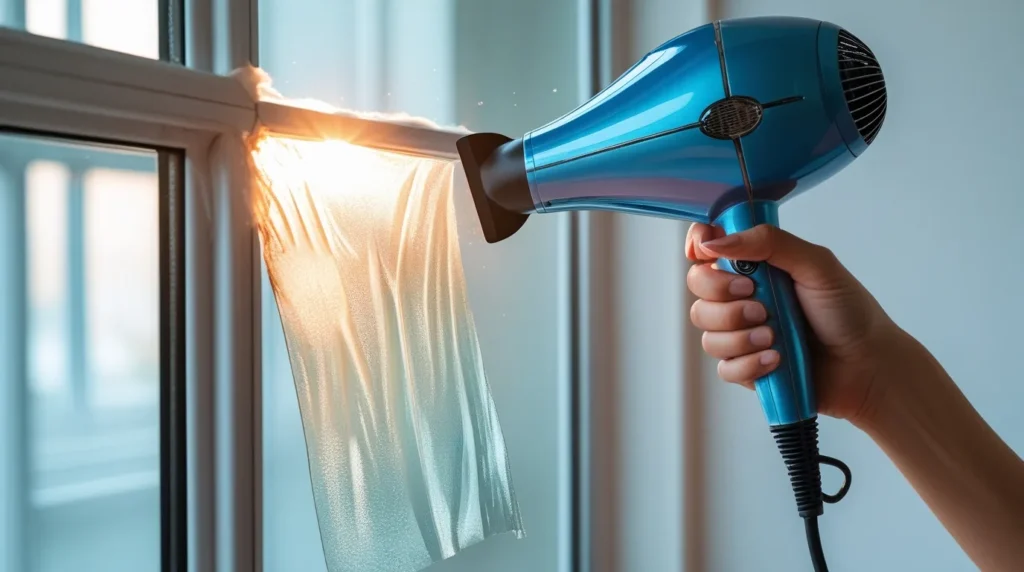
Using Heat to Loosen Window Film Adhesive
Heat is the best way to soften the glue under the tint. A hair dryer is safe for most home windows. Aim it at the corner of the tint. After a few seconds, the glue will loosen. That makes it easier to peel the film. Keep using heat as you pull the tint off. It helps the film come off in larger pieces. That means less cleanup. Heat makes the whole job faster and easier.
Dealing with Leftover Tint Glue and Adhesive
After you take the film off, you may see glue still stuck on the window. This is normal. Spray soapy water on the glass and let it sit. Then use a scraper to gently remove the glue. You can also use a tint adhesive remover. Test it on a small area first to make sure it’s safe. Wipe the glass with a soft cloth. You might need to repeat this step to get all the glue off. Be patient and take your time.

Extra Care for Larger Home Windows and Glass Doors
Big windows or glass doors need more time. Work in small sections. Use painter’s tape to protect the edges and trim. Heat one area at a time and peel slowly. Use a ladder for tall windows and make sure it is stable. Large windows may have more glue, so keep your tools nearby. Do not rush. Taking your time will help you avoid mistakes and leave your windows clean and smooth.
Professional Tint Removal Services in Las Vegas
If the job feels too big or you have a lot of windows, you can hire a professional. Window Tinting Las Vegas offers expert removal services. They use special tools and safe methods to remove film without hurting the glass. This is helpful for large homes or hard-to-reach windows. Professionals also clean the glass fully so it’s ready for new tint. If you want the job done quickly and safely, expert help is a great choice in Las Vegas.
Final Tips for Clean Windows and New Tint Application
Once you finish removing the tint and glue, clean the window with fresh water and a dry cloth. Make sure no bits of glue are left. Let the window dry fully before putting on new film. Starting with clean glass helps the new tint stick better. If you plan to add decorative film or privacy film, clean prep is key. A clear window gives the best results and helps your new film last longer.
Ready to give your windows a fresh start? Contact Window Tinting Las Vegas today for safe, fast, and affordable tint removal you can trust.